How to Change an Ostomy Appliance

Ostomy appliances improve a patient’s quality of life when they live with a colostomy, ileostomy or urostomy. Consisting generally of a pouch and a barrier plate, the ostomy appliance uses a one-piece or two-piece system to catch output emanating from the stoma.

Particularly if you’re a new ostomate, you may run into a few challenges when changing and disposing of your system. For guidance, get started with the following:

How to Remove an Ostomy Appliance

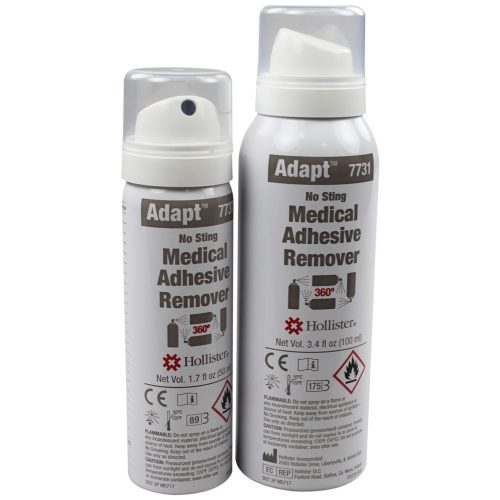
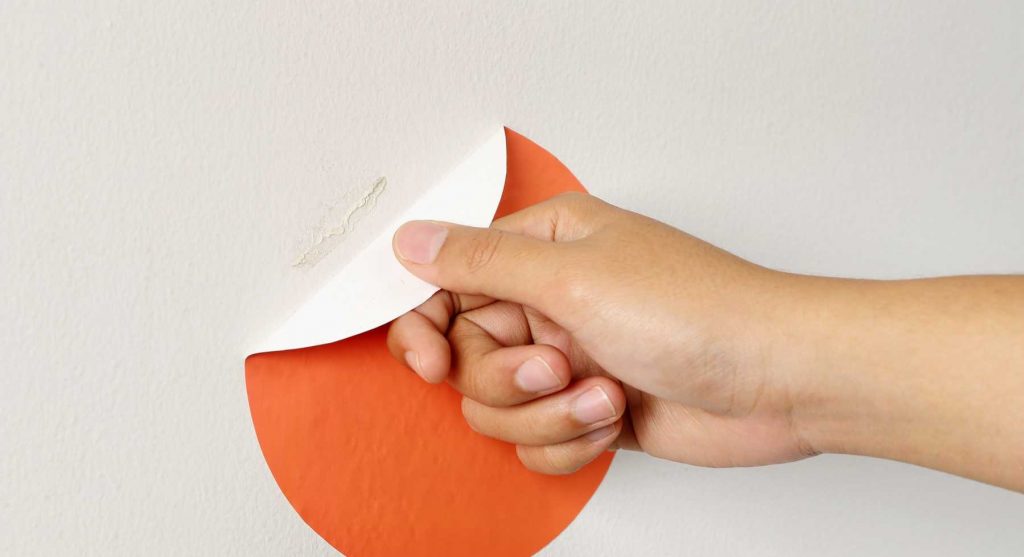
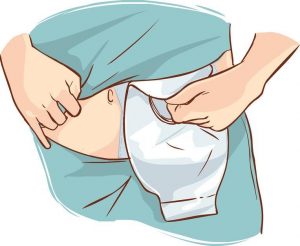
At this stage, you’re looking to comfortably detach the barrier (aka the barrier plate or wafer), dispose of the bag or its contents, remove any adhesive residue from the peristomal area and attach a new appliance.

To do this:

  1. Make sure you have the right supplies. You’ll need a new barrier (with or without an attached pouch), an adhesive remover, scissors, a measuring guide, a washcloth and towel. You’ll also need whatever optional accessories you may use in your changes, such as tapes, elastic adhesive strips, skin protectant, barrier paste or barrier rings. Be sure to have all supplies set up along your countertop or a surface for easy, straightforward access. 
  2. Remove the ostomy appliance at a point during the day with low output from the stoma. For most patients, this is right in the morning after waking up. If at all possible, avoid removal if you’ve recently eaten a meal.
  3. Before removing the barrier or pouch, thoroughly wash your hands. 
  4. Whether you use tape or strips, wipe or spray the surrounding area with the adhesive remover. This helps to loosen the barrier.
  5. Detach the barrier by gently peeling, moving from the outer edges to the center. Attempting to quickly or forcibly rip off the barrier is likely to irritate, and even severely damage, the skin surrounding your stoma. Have patience as you peel. 
  6. To help cleanly remove the barrier each time, apply adhesive remover gently under the barrier as you go. Place the used wafer and any other used-up items into a plastic bag for disposal. 
  7. Next, take the washcloth and clean the skin surrounding the stoma with water. If there’s leftover residue, use more adhesive remover.  
  8. You may also want to shower to wash away any waste. If you use soap, avoid anything scented or that contains moisturizers. Applying any lotion or cream to this area should also be avoided, as it can prevent the new barrier from adhering completely.
  9. Once done, gently dry the skin with your towel.

Attaching an Ostomy Appliance

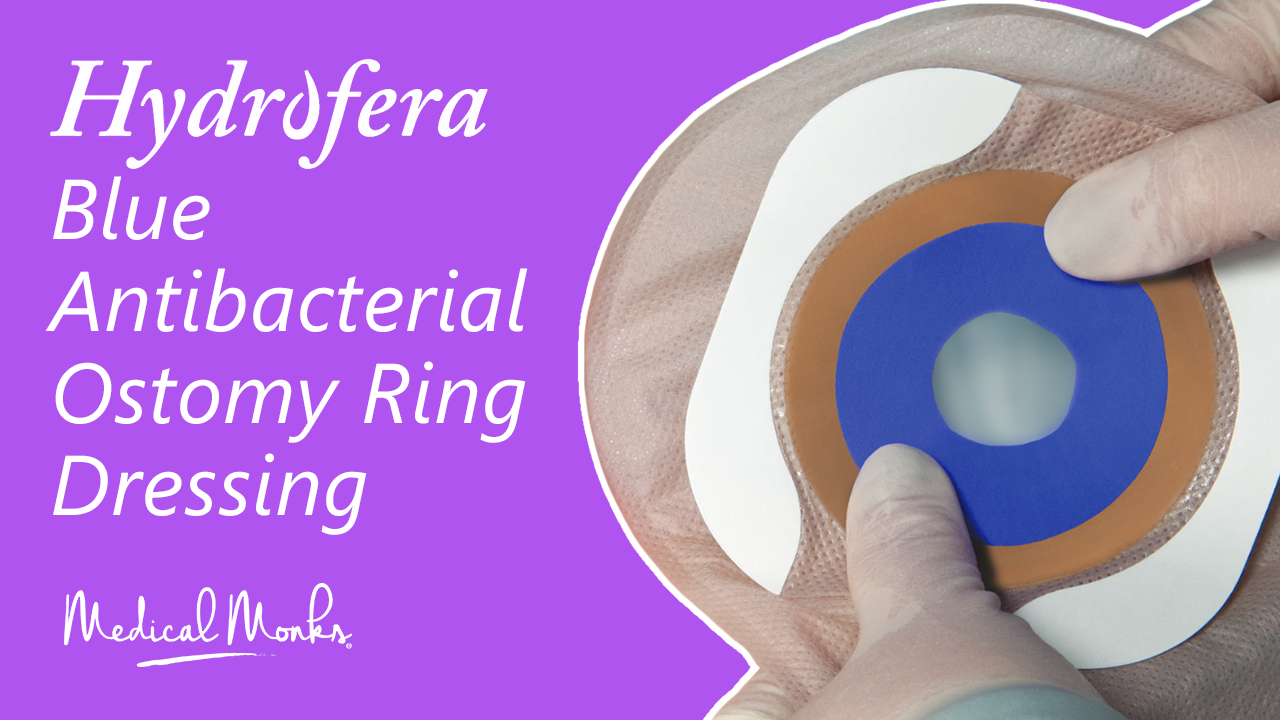
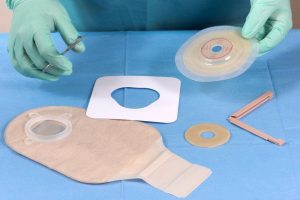
Once you have removed and disposed of the old ostomy appliance, you’ll want to attach a new barrier:

  1. If your barrier isn’t pre-cut, you’ll want to take the measuring guide (usually included with the appliance) and measure your stoma’s size. Then, take the scissors and cut a hole, following the appropriate line.
  2. If you use a skin protectant, you’ll want to apply it to the peristomal area before attaching the wafer. You may also want to apply the barrier ring first, if you’re using one.
  3. After removing the paper backing from the wafer, center the hole over the stoma and press down, smoothing the barrier plate from the center out, pressing gently as you go. 
  4. With the wafer adhered securely, you’ll then want to apply the other accessories – paste along the inside of the barrier hole (if you’re not using a ring) and/or tape or strips, along the outer edge. Click here for a video demonstrating some of these products. 
  5. At this stage, you’ll either need to close the bottom of the pouch, or attach the pouch to the barrier, following all directions from the manufacturer. For two-piece ostomy appliances, the pouch snaps or clicks onto the wafer. 

How Often Do You Change an Ostomy Appliance?

Ideally, your ostomy appliance should be able to last anywhere from three to five days between changes, depending on your amount of output and the type of system you’re using. 

However, if you notice an itching or burning sensation underneath the barrier, it’s likely you’re experiencing leakage. It’s recommended that you change the system at that point to prevent damage to the skin. 


Sources:

https://www.verywellhealth.com/how-to-change-an-ostomy-appliance-1941698 

https://www.ostomy.org/change-ostomy-pouch/

https://newbieostomy.com/behind-scenes/change-ostomy-pouch/ 

Related Videos

More Blogs

Top Ostomy Products