When it comes to ostomy products, leakage is your enemy. If you want to keep your pouch secure and, more importantly, keep the skin around your stoma healthy, output anywhere but inside the pouch is to be avoided at all costs. No matter which ostomy procedure you underwent, the output from your stoma is acidic, and if left in contact with the skin for a period of time can cause redness, sores and even open wounds. Your first line of defense against these kinds of unfortunate situations is, appropriately enough, the barrier.
You may know it as the wafer, or the patch, or as “the circle thing that sticks to my stomach.” Whatever you call it, it’s the single most important element of your ostomy setup.
A barrier’s main job – really its only job – is to stick. Maintaining the barrier’s adhesion is critical if you don’t want a mess on your hands. If it’s starting to peel or pop off after a short period of time – say, less than a day after it’s applied – leakage around the stoma is most often the culprit. In most cases, choosing the correct barrier will avoid these problems.
Stoma Shape and Cut-to-Fit vs. Pre-Cut
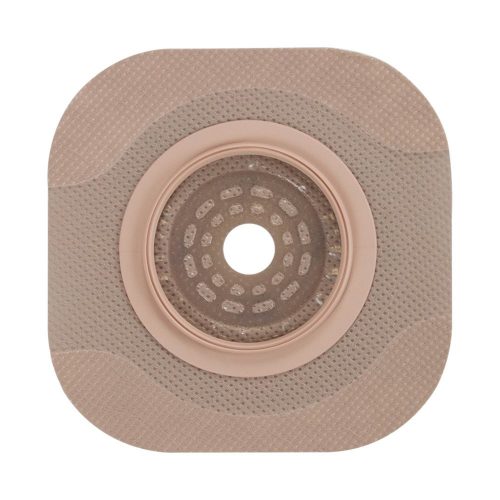
A good place to start when selecting a barrier is to take stock of the size and shape of your stoma. Ideally, it will be round and protrude from your skin about an inch. The idea is for the stoma to peek up through the hole in the center of the barrier and be snugly nestled inside, thereby allowing the output to drain safely into the pouch without compromising the skin or creeping underneath the inside edges. If you’re one of those lucky few with a perfect stoma – whose surgery went smoothly and body cooperated flawlessly – then your stoma type is well suited for an easy fit in a standard, flat barrier. But as we all know, very few things in life are perfect. Stomas are no exception.
So what’s the solution for all the imperfect stomas out there? Enterprising medical manufacturers have developed a wide range of products designed to accommodate most ostomy conditions.
Say your stoma does protrude but, like most, it isn’t in the shape of a perfect circle. Whether it’s an oval or a trapezoid, you’re probably still a good match for a flat barrier. Start off by measuring the diameter at its widest point. Then select a barrier that fits that range. If you’re using a cut-to-fit, follow the circular pattern that matches your measurement.
If you’re new to this and like the idea of using a pre-cut barrier, you should keep a few things in mind. Most important is that the stoma will usually fluctuate in size for a time after the surgery. That’s why almost all hospitals initially set up new ostomates with pre-cut models. Since pre-cut barriers are one-size-only you could run into major problems if your stoma grows or shrinks a millimeter or two. Be sure that your stoma size is fixed before you commit to a pre-cut model. Another concern should be accessories. If you decide to use a barrier ring or paste, you may want to experiment with different opening sizes to get the desired fit. So you should be sure of your accessory arrangement before committing as well.
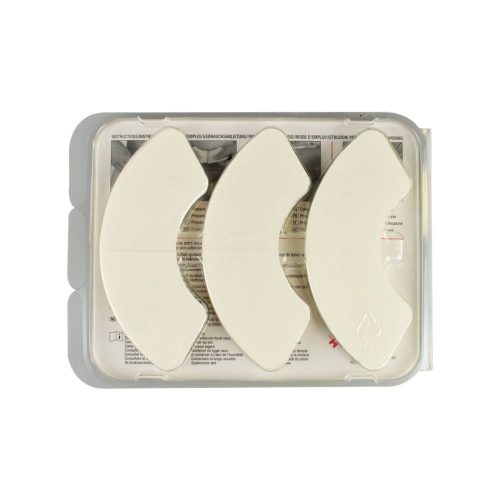
In both of these scenarios, there will likely be extra space at certain points between the stoma and the edge of the barrier. But don’t fret. There are products, such as the aforementioned moldable rings and paste, that are designed to fill in the gaps. We’ll get into those in a later installment.
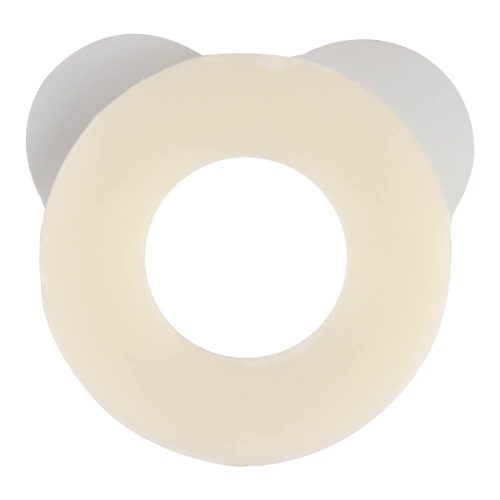
Convexity
Perhaps your stoma barely protrudes, or doesn’t protrude at all. Or maybe it’s flush with the skin or even inverted (i.e. sunken down below the surface of the skin). These are common issues that may be the result of surgical conditions or sometimes occur because the patient has a little extra baggage in the tummy region. Whatever the cause, there are products that can help. Most manufacturers we sell here at Medical Monks offer a line of convex barriers.
Convex barriers were developed to allow a stubborn stoma to poke through. Rather than being a flat disc, a convex barrier slopes down towards the center. They’re also generally made with sturdier material, which allows the slope to gently push down the skin surrounding the stoma, forcing the little guy to push up through the center hole.
Over the years, manufacturers have developed many variations of the convex barrier, including soft and light convexity, which are more flexible discs that allow for maximum comfort even as the stoma is held securely in place. There are also more sturdy models, like deep convex barriers, which are generally used for more extreme cases, like inverted stomas, or for folks with a little more heft in the midsection.
Convexity has probably been the most significant advance in ostomy management technology. Thousands of ostomates are able to live normal lives because of it. If you’re having trouble keeping your stoma in the correct position, chances are convexity is the answer.
A Note About One-Piece Pouching Systems
If you’re a one-piece user you’ve probably noticed this post refers (at least implicitly) to the barrier as a separate entity from the pouch. However, the pointers outlined above are equally applicable to one-piece systems. It’s industry standard for nearly all barrier models to be available in one and two-piece configurations. So whatever your pouching preference, all the benefits of barrier technology will be available to you.
So, there you have it: barriers broken down. Next time on the Ostomy Files we’ll discuss the various accessories available on the market and how they can help you guard against the ever-present creep of moisture around your stoma. See you then!